
Urdu Keyboard for Mac: How to Enable, Install & Type in macOS
💻 Urdu Keyboard for Mac — Setup Checklist
Follow these macOS steps and tick each box as you finish:
0% complete
Looking for an Urdu Keyboard for Mac? This guide helps Mac users enable Urdu, choose the right keyboard layout, and type smoothly in macOS. You’ll also learn how to switch input sources, fix common typing issues, and make Urdu typing faster with the right settings.
Introduction
An Urdu Keyboard for Mac lets you type in the Urdu language on your Mac without changing your device. Apple includes built-in Urdu input support in modern macOS versions. Some users also prefer trusted third-party keyboard layouts for phonetic typing.
This guide is for students, professionals, writers, and anyone who wants accurate Urdu typing on a Mac. Whether you use a MacBook Air, MacBook Pro, iMac, or another Apple computer, the setup process is simple.
You will learn how to enable an Apple keyboard for Urdu, add the correct input source, switch between English and Urdu, and solve common typing problems. By the end, you will have everything needed to type confidently and efficiently in Urdu on macOS.
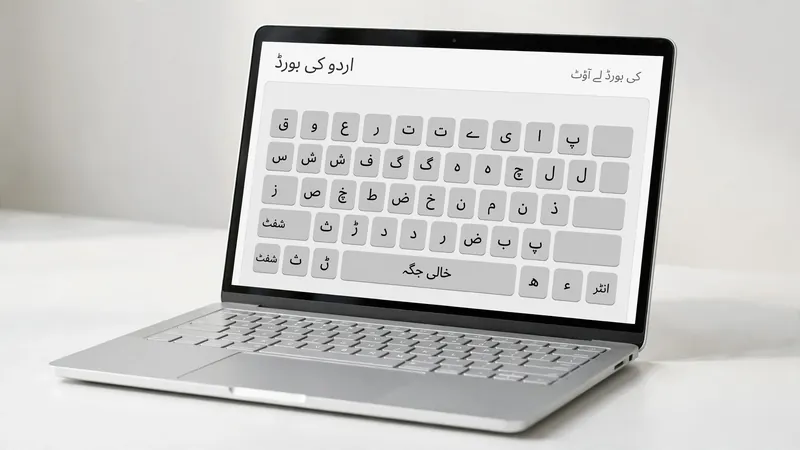
macOS Compatibility for Urdu Keyboard
Which macOS Versions Support Urdu?
Apple includes built-in Urdu language support in modern versions of macOS. You can enable an Urdu Keyboard for Mac on macOS Sequoia, macOS Sonoma, and macOS Ventura. Many older supported versions also offer Urdu input. The setup steps remain similar across most releases, making Urdu typing easy for Mac users.
Supported Apple Devices
Urdu keyboard support works across Apple’s Mac lineup. You can use it on a MacBook Air, MacBook Pro, iMac, Mac mini, and Mac Studio. As long as your device runs a supported macOS version, you can add Urdu and start typing without extra hardware.
Does macOS Include an Urdu Keyboard?
Yes. Apple provides built-in Urdu language support through the Input Source settings in macOS. The keyboard uses Unicode, which keeps Urdu text readable across websites, documents, and messaging apps. Most users only need to enable the built-in layout. However, some people prefer a phonetic keyboard because it matches English key positions and feels easier to learn. Choose the layout that best fits your typing style and daily workflow.
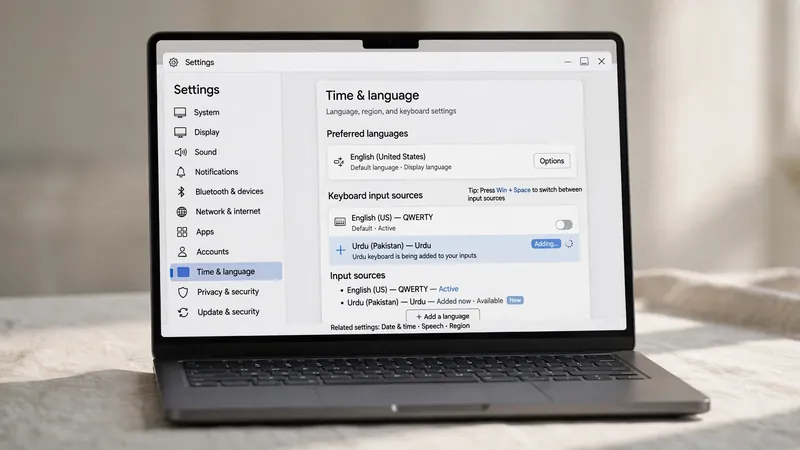
How to Install or Enable an Urdu Keyboard on Mac
Adding an Urdu Keyboard for Mac takes only a few minutes. Apple includes built-in language support, so most users do not need extra software.
Open System Settings
Click the Apple menu and select System Settings. This is where macOS stores language, keyboard, and input options. Make sure your Mac runs a supported version before you continue.
Go to Keyboard Settings
In System Settings, select Keyboard. Find the Text Input section and open Input Sources. This area lets you add, remove, and manage keyboard languages.
Add Urdu as an Input Source
Click Edit or Add Input Source, depending on your macOS version. Search for Urdu in the language list. Select the available Urdu keyboard layout and add it to your Input Sources. Your Mac now supports Urdu typing without changing the system language. You can switch between English and Urdu whenever you need.
Select Your Preferred Keyboard Layout
Choose the layout that matches your typing habits. The Standard Urdu keyboard follows the traditional key arrangement used by many Urdu typists. The Urdu Phonetic Keyboard places Urdu letters on similar English keys. Many beginners find the phonetic layout easier because it reduces the learning curve.
Verify That It Works
Open TextEdit, Notes, or another text editor and start typing in Urdu. Your text should display correctly using Unicode, which keeps characters readable across apps and websites. If a key does not produce the expected letter, open Keyboard Viewer to check the layout. Testing a few common words helps confirm that your keyboard works correctly before daily use.
How to Switch Between English and Urdu
After enabling Urdu, you can move between languages without changing your Mac settings.
Using the Menu Bar
Click the Input Menu in the menu bar. Select English or Urdu whenever you want to change languages. The switch happens instantly, so you can continue typing without closing your current app.
Keyboard Shortcut
macOS also supports a keyboard shortcut for changing input sources. Press the shortcut assigned in Keyboard Settings to switch languages quickly. This method saves time during writing, chatting, or editing documents.
Fast Language Switching Tips
Keep both English and Urdu in your Input Menu for quick access. Learn the keyboard shortcut and use it regularly until it becomes automatic. Remove unused keyboard layouts to keep the menu organized. If you forget a key position, open Keyboard Viewer for a visual guide. These small habits improve typing speed and reduce interruptions during your work.
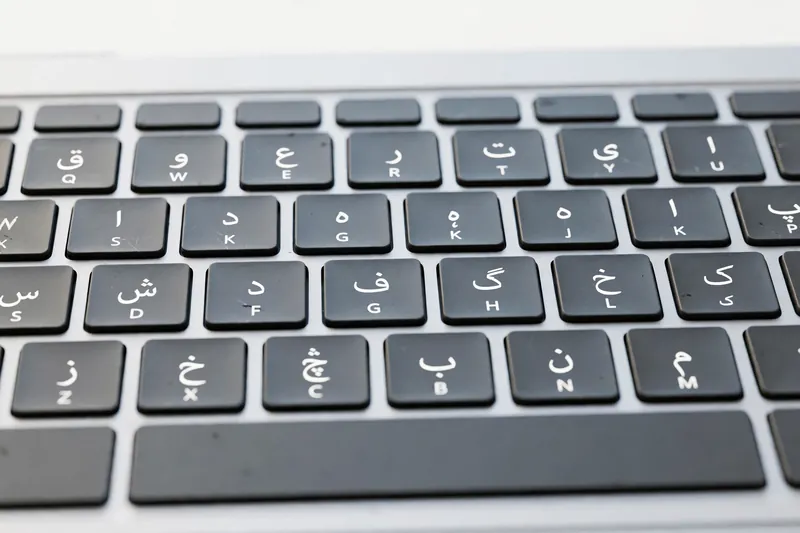
Best Urdu Keyboard Layouts for Mac
Choosing the right layout improves typing speed and accuracy. Your best option depends on your experience and writing style.
Standard Urdu Keyboard
The Standard Urdu Keyboard follows the traditional Urdu key arrangement. Many experienced users, publishers, and professional typists prefer this layout. It offers consistent character placement and works well for formal writing, documents, and long articles.
Urdu Phonetic Keyboard
The Urdu Phonetic Keyboard places Urdu letters on keys that match similar English sounds. New users often learn this layout faster because it feels familiar. It works well for students, bloggers, and anyone who types in both English and Urdu throughout the day.
Which One Should You Choose?
Choose the Standard Urdu Keyboard if you already know the traditional layout or need professional accuracy. Pick the Urdu Phonetic Keyboard if you are new to Urdu typing or prefer a faster learning process. Both layouts support Unicode and work smoothly with modern macOS applications.
Common Urdu Keyboard Problems on Mac (Troubleshooting)
Most Urdu keyboard issues have simple fixes. Check these solutions before changing advanced settings or installing another keyboard.
Urdu Keyboard Not Showing
Open System Settings and check Input Sources. Make sure Urdu appears in your language list. If it is missing, add it again. Restart the app if the keyboard still does not appear. A quick restart often refreshes the input menu.
Can’t Switch Languages
Confirm that both English and Urdu are enabled in Input Sources. Check your keyboard shortcut in Keyboard Settings. If the shortcut does not work, assign a new one. You can also switch languages from the Input Menu in the menu bar.
Wrong Characters While Typing
Wrong letters usually mean the selected layout does not match your typing style. Switch between the Standard Urdu Keyboard and the Urdu Phonetic Keyboard. Test the layout in TextEdit before using it in other apps. This helps you find the correct keyboard quickly.
Keyboard Layout Doesn’t Match Keys
Some layouts place letters in different positions. Open Keyboard Viewer to see the exact location of every key. Compare the on-screen layout while typing. If it feels unfamiliar, try another Urdu keyboard layout that better matches your experience. Practicing with the correct layout improves speed and reduces typing mistakes.
Tips for Better Urdu Typing on macOS
Use Unicode typing to keep your text readable across websites, documents, and apps. Choose quality Urdu fonts like Nastaliq for traditional writing or Naskh for better screen readability. Open Keyboard Viewer when learning a new layout. Practice common words and short sentences every day. Regular practice builds muscle memory, improves typing accuracy, and helps you type faster with fewer mistakes.

Frequently Asked Questions
Does macOS have a built-in Urdu keyboard?
Yes. Apple includes a built-in Urdu keyboard in modern versions of macOS. You can enable it from System Settings under Keyboard and Input Sources. Most users can start typing immediately without downloading additional software.
How do I add an Urdu keyboard to my Mac?
Open System Settings, select Keyboard, and go to Input Sources. Add Urdu from the language list and choose your preferred keyboard layout. Once added, you can switch between English and Urdu whenever needed.
Which Urdu keyboard layout is best for Mac?
The best layout depends on your typing style. The Standard Urdu Keyboard suits experienced users who know the traditional layout. The Urdu Phonetic Keyboard works well for beginners because it follows familiar English key positions.
Why is my Urdu keyboard not working on macOS?
First, check that Urdu is added to Input Sources. Then confirm the correct layout is selected. If problems continue, restart the app or your Mac. Also, verify that your keyboard shortcut and language settings work correctly.
Can I switch between English and Urdu quickly?
Yes. Use the Input Menu in the menu bar or a keyboard shortcut to change languages instantly. Keeping only the layouts you use most makes switching faster and improves your typing workflow.
Conclusion
An Urdu Keyboard for Mac makes Urdu typing simple on modern macOS devices. Apple provides built-in language support, easy installation, and quick input switching. You can also solve most keyboard issues with a few simple checks. Choose the layout that matches your typing style, practice regularly, and use Unicode for reliable results. With the right setup, you can type comfortably and confidently in Urdu across your favorite Mac apps and websites.
Related Guides
Try our free Urdu Keyboard tool to type Urdu online instantly.